> ## Documentation Index
> Fetch the complete documentation index at: https://redo-44af351d-docs-returns-email-query-param.mintlify.site/llms.txt
> Use this file to discover all available pages before exploring further.
# Deposco
> Connect Deposco WMS to Redo for automated return processing
export const integrationProvider_0 = "Deposco"
## What is Deposco?
Deposco is a cloud-based warehouse management system (WMS) and order management platform that provides real-time inventory visibility, order orchestration, and fulfillment capabilities. Deposco helps brands and 3PLs manage complex supply chain operations efficiently with advanced capabilities for inventory management, order fulfillment, and warehouse automation.
## What Does the Integration Do?
The Deposco integration automates your return workflow by connecting Redo directly to your Deposco WMS:
**Automatic RMA Creation** When a customer initiates a return through Redo, an RMA is automatically created in Deposco with all the necessary details—customer information, SKUs, quantities, return reasons, and processing instructions.
**Automatic Return Processing** When items are physically received in your Deposco warehouse, the system notifies Redo, which automatically triggers the appropriate return processing:
* **Refunds**: Issued back to the customer's original payment method
* **Exchanges**: New orders created and sent to your fulfillment queue
* **Store credit**: Applied to the customer's account
This eliminates manual data entry and ensures your warehouse team and customer service team are always in sync.
## How to Set It Up
Follow these steps to connect Deposco to your Redo account:
In your Redo dashboard, go to **Settings** → **Returns & Claims** → **Integrations**
Locate the TrackStar integration tile in your integrations list:
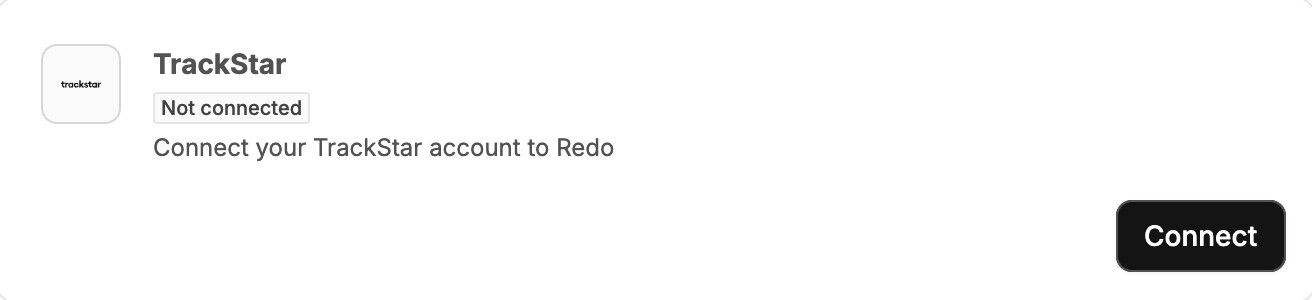 Click the **Connect** button on the TrackStar integration tile. You'll be taken to the TrackStar login screen:
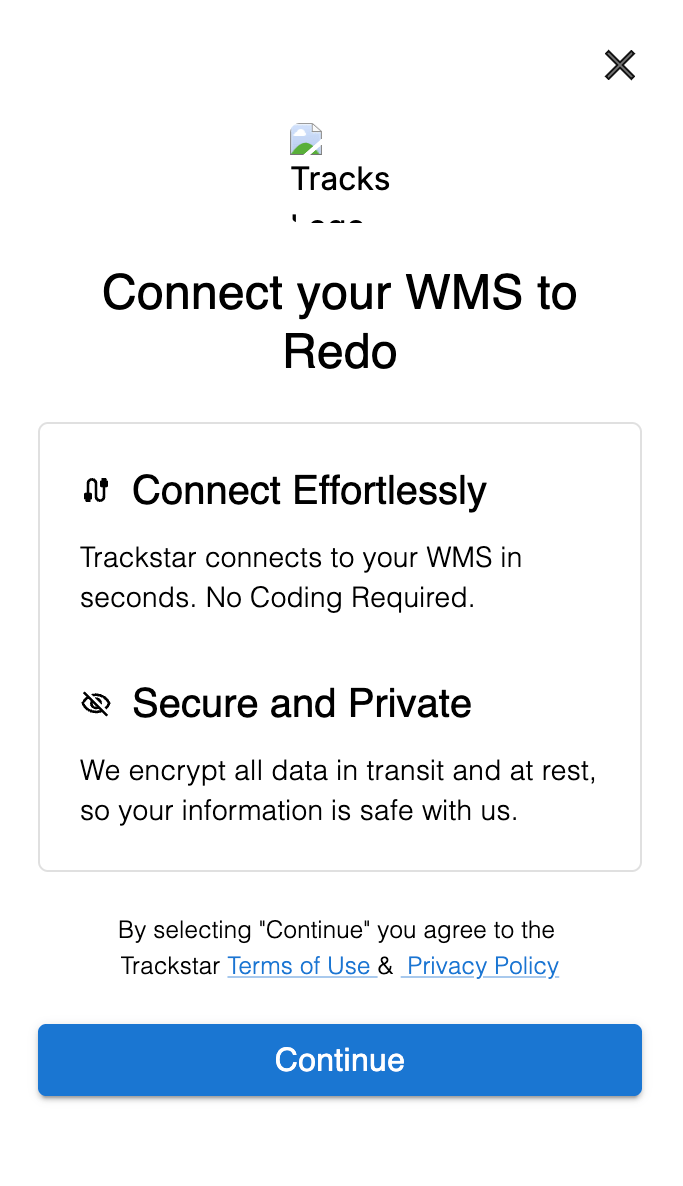 In the search field, type "Deposco" to find your Deposco integration.
Enter your Deposco API credentials in the login form. You'll need to obtain these credentials from your Deposco account administrator.
Once credentials are entered and validated, Redo will test the connection to ensure everything is configured correctly. You'll see a confirmation once the integration is successfully connected.
Navigate to **Settings** → **Returns & Claims** → **Shipping** and locate your Deposco warehouse location. Click **Edit** and enter your TrackStar Warehouse ID:
In the search field, type "Deposco" to find your Deposco integration.
Enter your Deposco API credentials in the login form. You'll need to obtain these credentials from your Deposco account administrator.
Once credentials are entered and validated, Redo will test the connection to ensure everything is configured correctly. You'll see a confirmation once the integration is successfully connected.
Navigate to **Settings** → **Returns & Claims** → **Shipping** and locate your Deposco warehouse location. Click **Edit** and enter your TrackStar Warehouse ID:
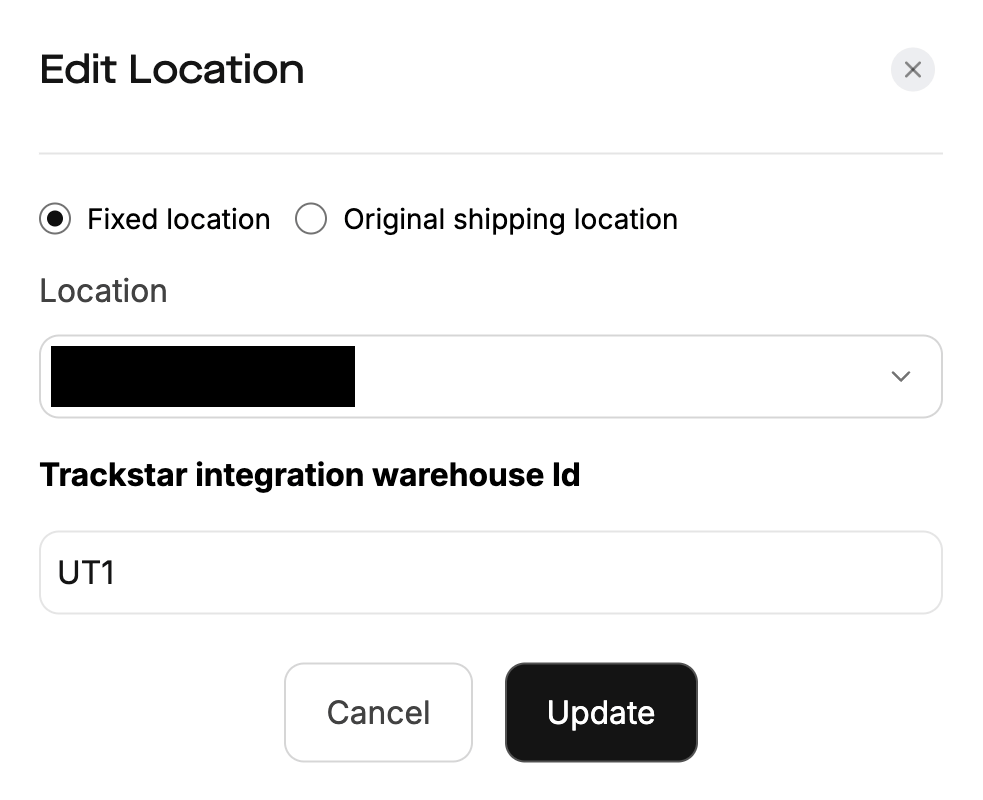 This links your Redo warehouse location to the corresponding Deposco/TrackStar warehouse, ensuring returns are routed correctly.
If you need help obtaining your Deposco API credentials, TrackStar Warehouse ID, or encounter any issues during setup, contact our support team at [support@getredo.com](mailto:support@getredo.com).
## How Long Does It Take?
Once we have your Deposco API credentials, the integration typically takes **approximately 30 minutes** to configure and test. This includes:
* Entering and validating your credentials
* Setting up your warehouse ID
## Support
For issues with the Redo integration configuration, return processing, or data synchronization, contact **[support@getredo.com](mailto:support@getredo.com)**.
For issues with {integrationProvider_0} access, API credentials, or warehouse operations, contact your {integrationProvider_0} account manager or support team.
This links your Redo warehouse location to the corresponding Deposco/TrackStar warehouse, ensuring returns are routed correctly.
If you need help obtaining your Deposco API credentials, TrackStar Warehouse ID, or encounter any issues during setup, contact our support team at [support@getredo.com](mailto:support@getredo.com).
## How Long Does It Take?
Once we have your Deposco API credentials, the integration typically takes **approximately 30 minutes** to configure and test. This includes:
* Entering and validating your credentials
* Setting up your warehouse ID
## Support
For issues with the Redo integration configuration, return processing, or data synchronization, contact **[support@getredo.com](mailto:support@getredo.com)**.
For issues with {integrationProvider_0} access, API credentials, or warehouse operations, contact your {integrationProvider_0} account manager or support team.